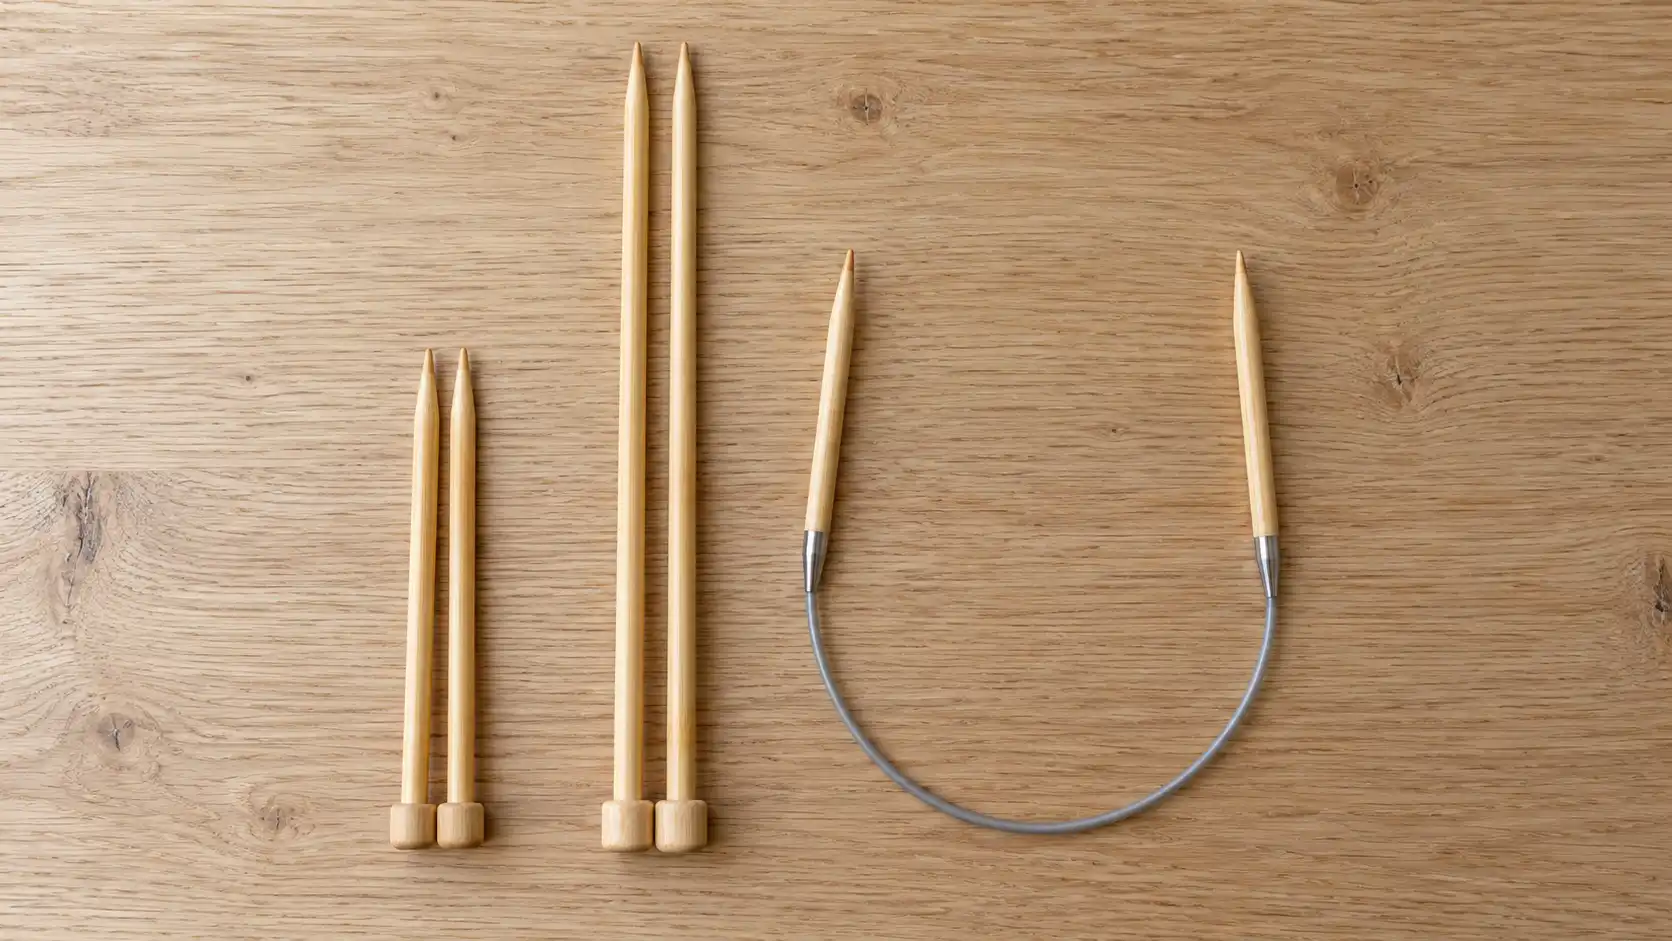
To measure knitting needle size when the marking has worn off, check the diameter of the needle’s working shaft with a suitable needle gauge. The full round shaft should fit the labelled hole without being forced and without obvious looseness. Record the millimetres, then look up the equivalent US or UK size if your pattern needs it.
The pointed end, overall length and colour are not reliable substitutes for that measurement. A quick check before casting on can prevent you from using a mismatched pair or confusing two numbering systems.
What you need to measure knitting needle size
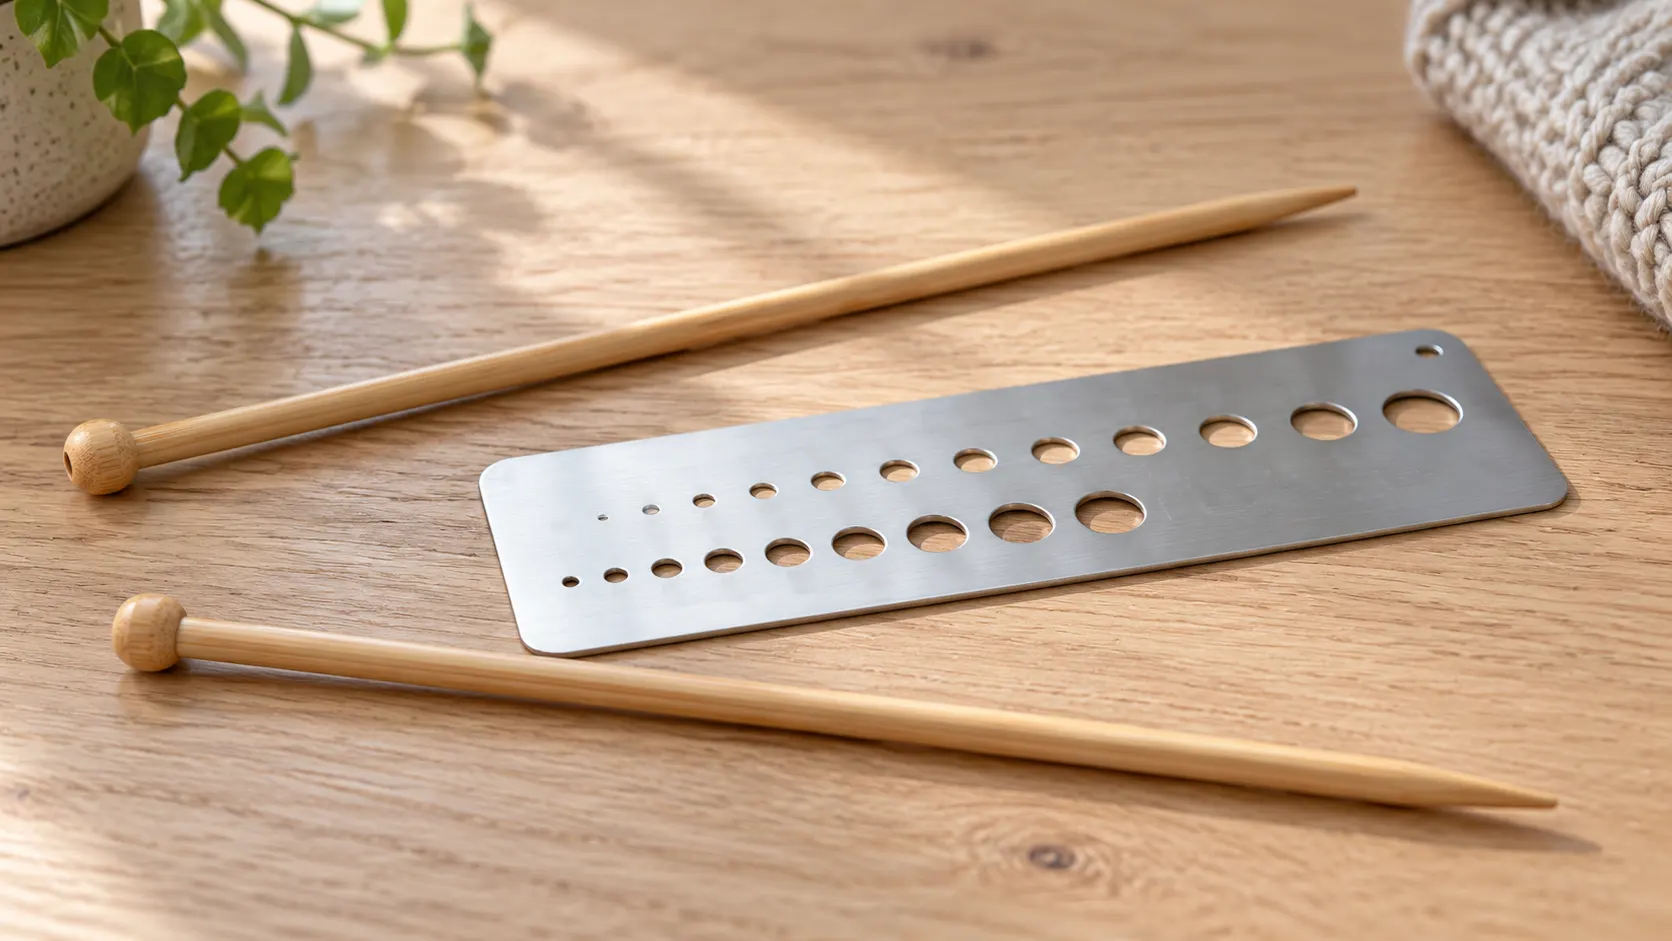
A knitting needle gauge is a plate or tool with labelled holes for different diameters. Choose one that includes the sizes you expect to measure and check that its holes are clean and undamaged.
For example, Clover’s needle gauge covers a stated range of metric and US sizes. The manufacturer specifically warns that forcing an unfit needle into a hole may deform the gauge. Treat a close fit as something to check gently, not something to push through.
Set the needle, gauge, a small label and a pen on a well-lit surface. You do not need yarn on the needle for this check. If you are measuring a needle already holding live stitches, transfer or secure the work appropriately before handling it.
First, look for a surviving size marking
Check both needles in a pair, including the end cap, shaft and area near a circular needle’s cable join. Look at the original packet or storage pocket if you still have it. For interchangeable tips, check the manufacturer’s product information too.
A visible number is useful only when you know what it represents. A US size, older UK size, millimetre diameter and needle length are different things. Do not interpret an unlabelled number automatically as millimetres.
Keep the suspected size as a note and confirm it with the gauge if the marking is uncertain. If the pair has been mixed with other needles, measure both pieces rather than assuming they match.
Measure a round needle with a hole gauge
1. Identify the working shaft
Find the smooth, full-width section behind the tapered point. That is the part that forms the working diameter. The narrow point will enter holes smaller than the shaft and can give a misleading result if you stop too soon.
On a circular needle, measure the tip’s working shaft rather than the cable or connector. On a double-pointed needle, use the central working section, away from either taper.
2. Start with a hole that comfortably accepts the needle
Hold the gauge and needle straight enough to avoid wedging the shaft diagonally. Guide the point through, then check whether the full-width section can pass without pressure.
If it will not pass, stop and use a larger hole. Pushing harder does not improve the measurement and may damage the tool or needle.
3. Check neighbouring sizes
A needle may pass through several larger holes. That does not make all those labels correct. Compare nearby holes and find the one that accepts the full shaft with a close, unforced fit.
| What you observe | What to do |
|---|---|
| Only the point enters | Move to a larger hole and test the full shaft |
| The full shaft will not pass gently | Do not force it; try larger |
| The shaft fits but has obvious space around it | Try a smaller neighbouring hole |
| The full shaft fits closely without pressure | Read and record that hole’s metric label |
| Nothing fits properly | Check the tool’s range, condition and needle shape |
Do not select the nearest printed size if the fit is uncertain. Some gauges omit intermediate diameters. Another gauge with the required increments, the original manufacturer, or a careful caliper measurement may be needed.
4. Repeat on the other needle
Measure each straight needle or double-pointed needle separately. A storage case can contain two almost identical-looking sizes. For circular needles, check both tips if the assembly or its origin is uncertain.
Note the result before you return the needles to the case. Recording the metric diameter helps avoid another conversion question later.
Convert the diameter after measuring it
Once you have a reliable millimetre measurement, use the knitting needle sizes chart to find the relevant US or older UK label.
Keep the millimetre value alongside the converted number. Older UK and US numbering do not mean the same thing, and some metric diameters do not have a convenient equivalent in every numbering system. An approximate conversion is not permission to silently use a different diameter in a gauge-sensitive pattern.
The gauge tool identifies the needle. It does not prove that the needle will produce the pattern’s required stitch count with your yarn. That requires a knitted sample.
Can you measure knitting needles with calipers?
Calipers can provide a diameter reading when used correctly on a round working shaft. Check the unit setting, zero the instrument according to its instructions, and close the jaws gently across the shaft without squeezing or angling them.
Repeat the reading at another point on the working section and in another orientation. Avoid the taper, connector, decorative coating irregularities and visibly damaged areas. A displayed decimal is not a guarantee that your technique or instrument is accurate.
If repeated measurements disagree, do not average them into a confident needle size. Check the instrument, needle condition and shape, or compare with another suitable gauge. The manufacturer’s nominal size is especially useful when dealing with unusual needle designs.
What about square needles or unusual shapes?
A round-hole gauge is intended to check round diameters. A square or shaped needle can fit a circular hole in a way that does not directly identify its manufacturer’s nominal knitting size.
Do not force the corners through a hole or treat a diagonal caliper measurement as though it were a standard round diameter. Look for the original marking or ask the manufacturer how that design is sized.
You still need a swatch with the actual needle for a fitted project. Shape and handling are reasons to check your knitting, not reasons to claim a new universal conversion rule.
Needle size is different from knitting gauge
These two uses of the word gauge are easy to mix up:
- A needle gauge tool helps identify the needle’s diameter.
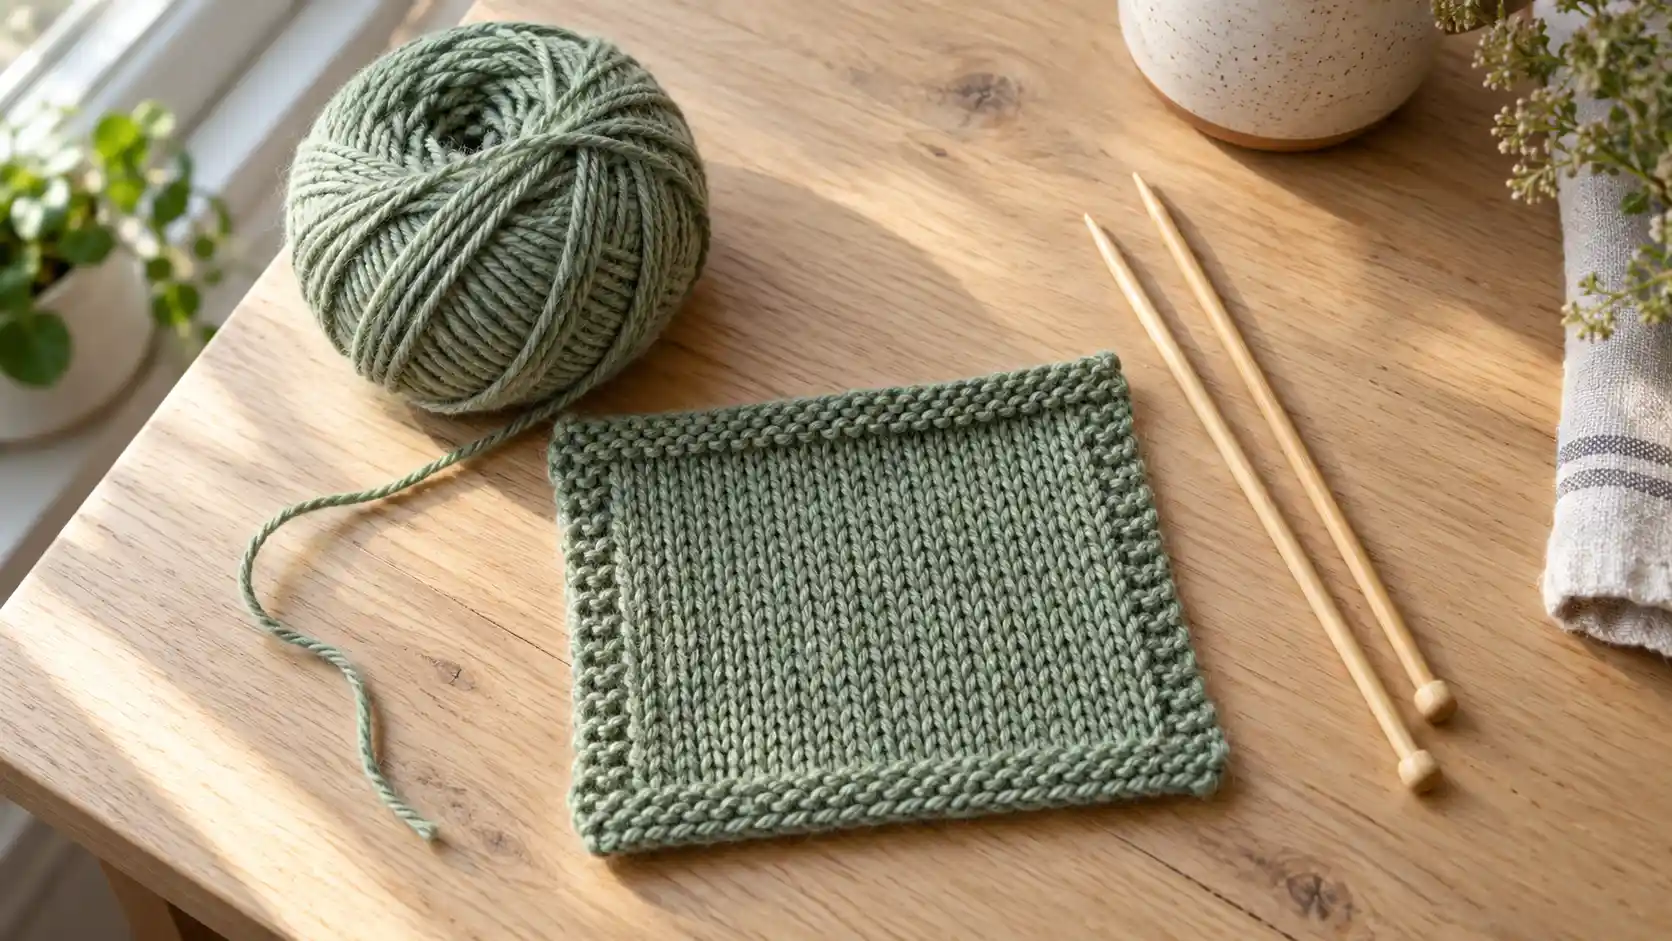
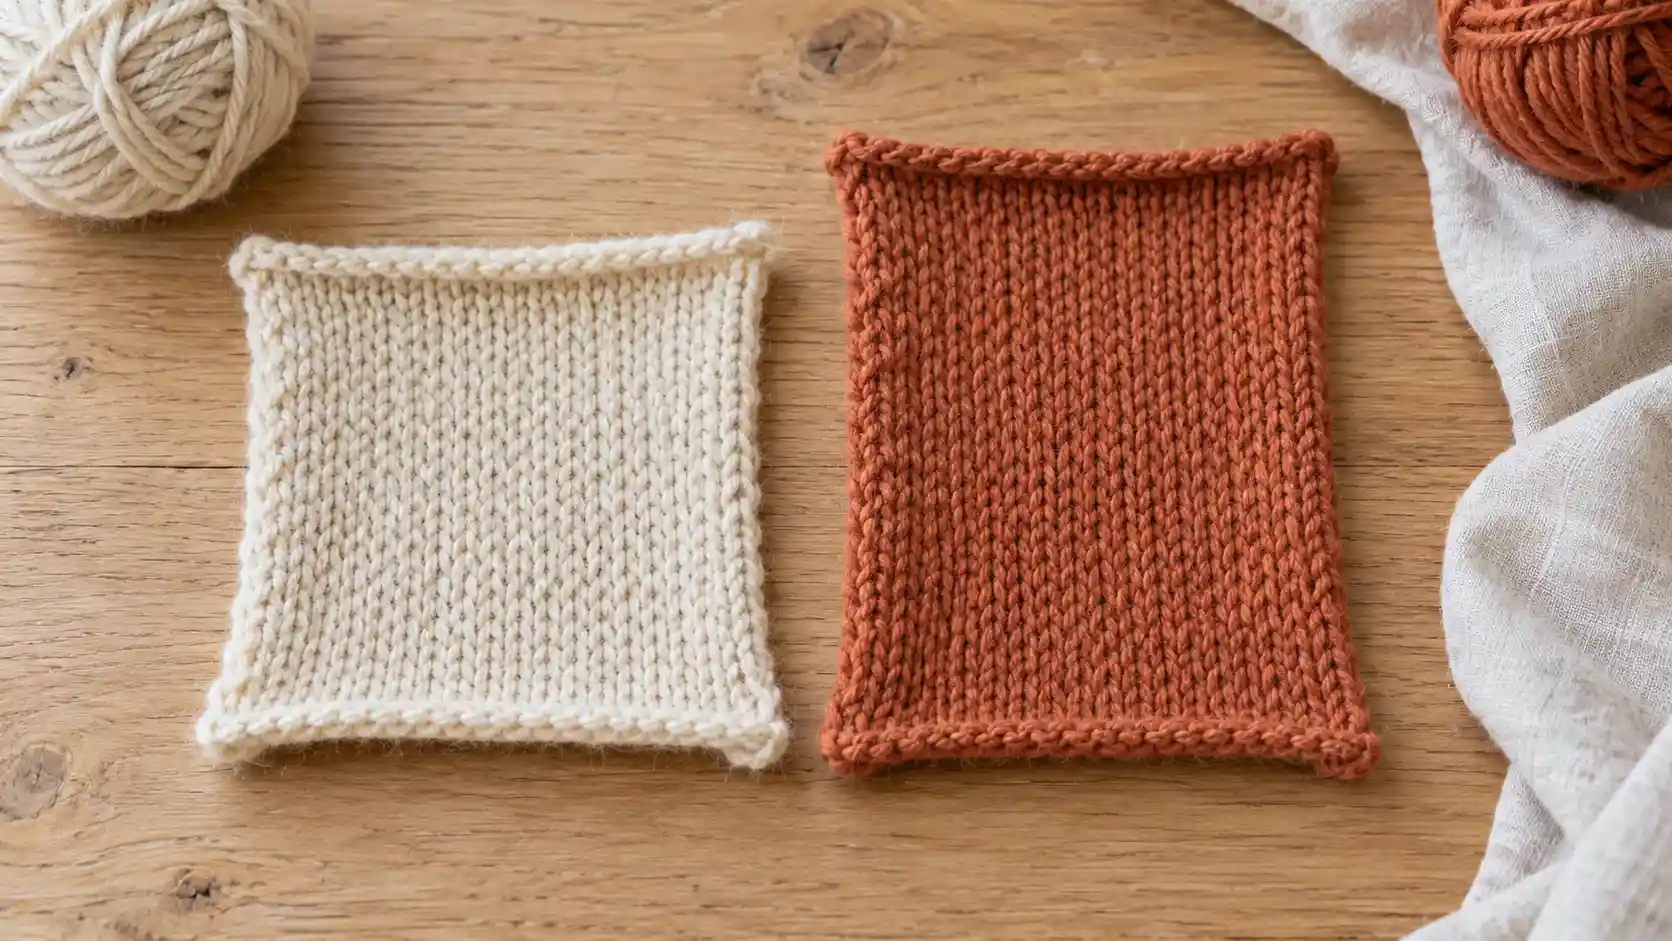
- A knitted gauge sample shows how many stitches and rows your yarn and technique produce over a measured distance.
After identifying the needle, make the sample required by your pattern, wash and dry it appropriately, and measure a central area. Use the gauge calculator for calculations based on your measured fabric.
For a project on DPNs, our double-pointed knitting needle guide covers their use. For a round garment, the round-swatch guide helps you sample in a representative way.
Frequently asked questions
Can I measure a knitting needle with an ordinary ruler?
A ruler can help distinguish needle length or a large difference in thickness, but it is difficult to read a small round diameter accurately against ordinary markings. Use a suitable needle gauge or carefully used calipers for close sizes.
Do I measure the pointed end?
No. Guide the point through the hole, then test the full-width working shaft behind it. The taper alone can enter a smaller hole and give you the wrong impression.
What if the needle fits two holes?
Check whether the larger hole is visibly loose. The useful result is the close, unforced fit of the full shaft. If neither fit is convincing, check another suitable gauge or the maker’s specification.
Can I identify a needle by its colour?
Only use colour as a storage clue within a known product system. It is not a universal size code across brands, materials or older needles. Confirm the marking or measure the shaft.
Does a needle gauge tell me which yarn weight to use?
It identifies a needle diameter. The right yarn-and-needle combination depends on the pattern, required gauge and fabric you want. A single needle can be used for different fabrics and yarns.
What if the needle is bigger or smaller than the gauge’s range?
Use a measuring tool that covers it or consult the manufacturer. Do not assign the smallest or largest hole’s label just because it is the closest option on the plate.
Label the storage, not the working surface
Write the metric diameter on a pouch, sleeve or storage compartment. Add the brand or material if you know it. Avoid putting a rough label where yarn must slide, and keep uncertain needles separate until you can identify them.