
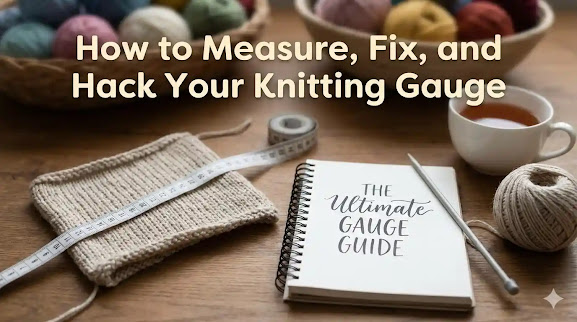
Have you ever spent weeks knitting a sweater, only to bind off and realize it would fit a toddler—or worse, a giant?
We have all been there. It is the specific heartbreak of Knitting Gauge.
Most knitters dread the word “swatch.” We want to cast on immediately! But understanding gauge is the difference between a handmade masterpiece and a project that stays hidden in a drawer.
This guide explains how to measure gauge, troubleshoot mismatches, and calculate stitches and rows using your measured gauge and desired project dimensions.
What is Gauge, Anyway?
Simply put, gauge is the number of stitches and rows per inch (or centimeter) in your knitted fabric. It measures your unique “knitting signature”—how tight or loose you hold the yarn.
If a pattern calls for 5 stitches per inch, but you knit 4 stitches per inch, your stitches are wider. Over the course of a sweater with 200 stitches, that tiny difference means your sweater will be 10 inches wider than intended.
How to Measure Gauge Correctly (Step-by-Step)
You cannot get an accurate measurement by holding a tape measure up to your needle while you knit. You need a finished sample.
Step 1: Knit a Large Swatch
Do not knit a tiny 2-inch square. Cast on enough stitches to make a square that is at least 6 inches by 6 inches. This ensures the edges (which are often distorted) don’t mess up your measurement in the center.
Step 2: Wash and Block It
This is the step most people skip. Yarn changes shape when wet. Treat your swatch exactly how you plan to treat the finished sweater. Wash it, pin it flat, and let it dry.
Step 3: Measure the “Sweet Spot”
Lay a ruler or a gauge frame over the center of the fabric. Count the number of V-shapes (stitches) inside a 4-inch (10 cm) area.
- Pro Tip: Don’t try to count 1 inch. It’s too small for accuracy. Count 4 inches and divide by 4.
“Why Is My Gauge Different?”
You bought the exact yarn the pattern recommended. You used the recommended needle size. So why is your gauge still off?
This is one of the most common questions we get at Gauge Genie. Several factors affect your tension:
- Needle Material: Metal needles are slippery and often result in tighter stitches than bamboo or wood.
- Mood: Stress makes us knit tighter; relaxation makes us knit looser.
- Technique: “English” throwers often have a different gauge than “Continental” pickers.
The 3 Ways to Fix a Gauge Mismatch
So, you measured your swatch and you have 4.5 stitches per inch, but the pattern wants 5.0. What now?
Option 1: The Needle Swap (The Traditional Way)
If you have too few stitches (your gauge is too big), go down a needle size. If you have too many stitches (too small), go up a size.
- The Downside: You have to knit a whole new swatch.
Option 2: The Yarn Swap
You can try a heavier or lighter yarn to match the pattern.
- The Downside: This can get expensive and limits your creative choice.
Option 3: The Math Hack (The Best Way)
What if you like the fabric you knitted? What if that specific needle and yarn combination feels perfect, even if the numbers are wrong?
Don’t change your needles. Change the pattern.
This is where knitting math saves the day. You can recalculate the cast-on numbers to fit your gauge, rather than forcing your hands to match the designer’s gauge.
Use our free Gauge Calculator to estimate stitch and row counts from your measured gauge and desired dimensions. For a shaped garment, review the pattern’s shaping and construction as well as its cast-on count..
Calculate Stitches and Rows for Your Project
Measure your washed and dried swatch, then use the Gauge Calculator to estimate counts for your desired finished dimensions.
- Enter the stitch and row counts for the measurement span shown on the calculator, choosing the matching measurement units.
- Enter your desired finished width and length, choosing the matching dimension units.
- Click Calculate to obtain stitch and row counts for those dimensions.
Advanced options include ease, border stitches, and pattern repeats. Check your pattern’s stitch multiples, shaping, and instructions before changing its counts.
Final Thoughts
Checking gauge helps you choose needles, plan finished dimensions, and decide whether a yarn suits your pattern. A calculator can help with the stitch and row counts; a shaped garment also needs appropriate shaping and construction.
Ready to start your next project with confidence?

[…] of an adult. I know checking gauge seems boring, but it’s really important. Our comprehensive gauge guide explains exactly why gauge matters and walks you through how to check it […]
[…] can also explore our complete gauge guide for a deeper dive into swatching techniques, common gauge problems, and how to adjust needle sizes […]
[…] Gauge (called tension in UK/Australian patterns) is the number of stitches and rows per 10 cm (or 4 inches) of knitted fabric. […]
[…] Click Here to Use Calculator Learn About Gauge […]