If your stitch gauge matches but your row gauge doesn’t, read the pattern’s construction before changing needles. A plain section worked to a length can often use a different number of rows. A yoke, sleeve cap or fixed chart needs more thought because its row count may control both shape and fit.
Getting the stitch count right is useful progress. It doesn’t mean you must start again, and it doesn’t mean the remaining difference can always be ignored. The next decision is about the particular section you are knitting.
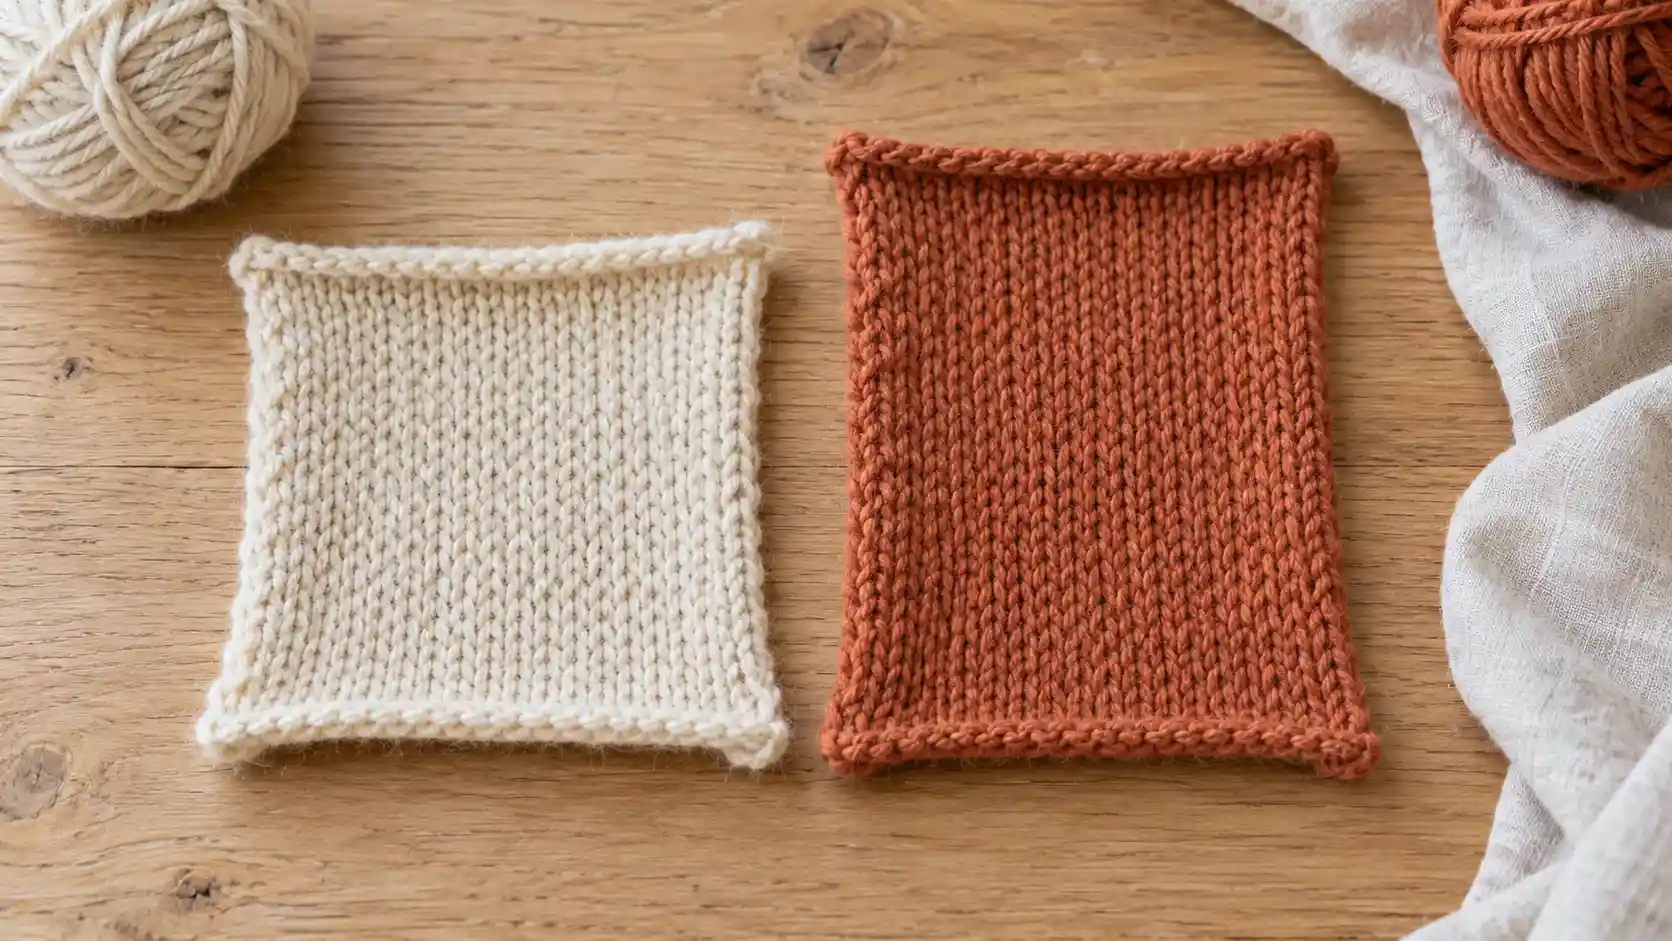
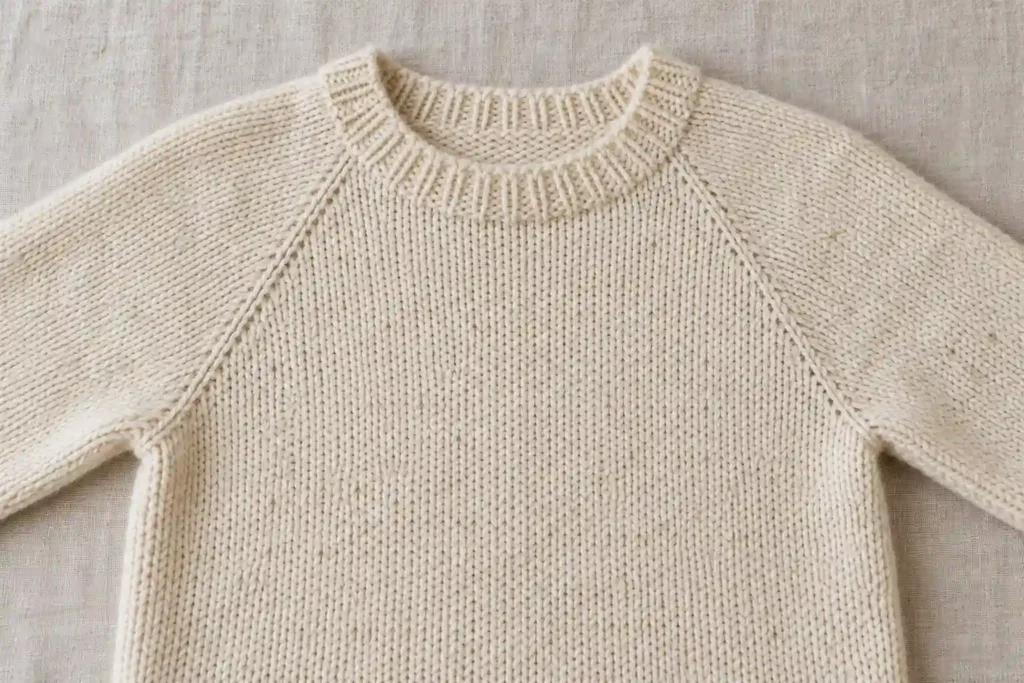
Here are five steps to help you make that decision, with a worked example you can adapt to a plain section. All numbers are hypothetical. The accompanying photo-style images are AI-generated context, not photographs of measured tests.
1. Confirm the row gauge you are comparing
Check the gauge instructions in the pattern, rather than relying on the yarn label. Use the specified stitch pattern and the intended finishing treatment. In UK and Australian patterns, gauge is often called tension; the same checks apply.
Before making a change:
- Finish the swatch as you will finish the project, following its care instructions, and let it dry completely.
- Count across a relaxed central area, away from edges. Record both stitches and rows, including fractional counts where the ruler ends within one.
- Compare the same reference distance. Four inches is 10.16 cm, so don’t quietly substitute 10 cm in the middle of a calculation.
- Check whether the project is worked flat or circularly. Knit and purl tension can differ, so an ordinary flat stockinette sample may not represent circular stockinette.
- Confirm that you like the fabric’s density and drape, not just the numbers.
The general knitting gauge guide covers preparation and measurement. For a circular project, use the swatching-in-the-round methods rather than assuming your flat result will transfer.
There isn’t a fixed stitch-to-row ratio that every knitter must produce. Purl Soho’s gauge troubleshooting addresses this exact situation: keeping the needle that gives the required stitch gauge is often useful, but fitted or complex designs may need a different yarn that can achieve both measurements.
2. Find out what the pattern’s rows control
Read the whole section, including anything marked “at the same time,” before deciding where rows can be added or removed. A body can contain an easily adjusted straight portion and a much less flexible shaped portion.
| Instruction or construction | What a row-gauge difference can change | What to check next |
|---|---|---|
| Plain section worked to a stated length | Number of rows needed for that finished length | Use your finished gauge to plan the count |
| Fixed number of rows or rounds | Physical height of that section | Calculate its expected height at your gauge |
| Increases or decreases at set intervals | Distance between shaping events | Preserve stitch totals and assess the shaping depth together |
| Fixed lace, cable or colourwork chart | Height and placement of the motif | Check full repeats and any permitted length adjustments |
| Sideways construction | A width or other fit dimension may follow the row direction | Follow the schematic’s orientation rather than assuming rows only affect length |
That last distinction is easy to miss. Purl Soho’s End To End Pullover specifically requires both gauges because it is knitted sideways. A shortcut that works below the underarm of one sweater may not apply across another sweater’s body.
3. Calculate a plain section before changing its row count
First, get the direction of the difference clear. More rows within the same distance means each row is shorter. If you work the pattern’s fixed row count, that section will finish shorter. Fewer rows within the distance means taller rows and a longer fixed-count section.
Suppose a pattern specifies 20 stitches and 28 rows per 10 cm. Your washed, dried sample has 20 stitches and 32 rows per 10 cm. The width measurement matches, but the row height differs.
Consider a plain section intended to finish at 20 cm:
| Finished row gauge | Height of an unchanged 56-row section | Rows corresponding to 20 cm |
|---|---|---|
| 24 rows per 10 cm | About 23.3 cm | 48 rows |
| 28 rows per 10 cm, the pattern target | 20 cm | 56 rows |
| 32 rows per 10 cm | 17.5 cm | 64 rows |
For your 32-row sample, the calculation is:
32 rows ÷ 10 cm = 3.2 rows per cm
20 cm × 3.2 rows per cm = 64 rows
That is eight more rows than the pattern’s 56-row equivalent. It is a planning count for this plain length, not permission to insert eight rows anywhere in the garment.
When the instructions give rows instead of a length
For an unrestricted plain section, you can first recover the intended length:
Original rows ÷ pattern rows per unit = intended length
Intended length × your rows per unit = estimated new rows
If both gauges use the same reference distance, this can be written as:
56 original rows × 32 actual rows ÷ 28 target rows = 64 new rowsKeep the units consistent and retain decimals until the final decision. A result such as 63.6 rows still needs a workable whole-row choice, considering the required finishing side, stitch repeat and neighbouring instructions. There is no rule that every result should be rounded up.
The gauge calculator can help with length-and-count proportions. It cannot decide where shaping or chart changes belong.
When the instructions say “work to 20 cm”
The pattern’s finishing and measuring instructions still matter. Fabric crowded onto a needle, freshly knitted fabric and washed fabric may have different lengths. Plan the expected rows from your finished swatch and keep its before-and-after measurements for reference.
Patty Lyons’ discussion of row gauge explains why a finished-length target needs more care than measuring bunched-up knitting. Use your count as a checkpoint, then check that the developing project behaves like the sample. Follow any specific instruction to measure stretched, relaxed or after blocking.
Once the first matching piece is satisfactory, record its actual rows for the second sleeve or repeated piece. A stitch and row counter helps keep that record; it doesn’t replace measuring the fabric.
4. Treat shaping and charts as separate decisions
The simple calculation above preserves one length. It doesn’t automatically preserve a sleeve’s taper, a neckline, the width at an underarm or the position of a motif.
Sloane Rosenthal’s guide to row-gauge adjustments makes a useful distinction between simpler sections and more involved construction. Check every instruction happening within the same span. Re-spacing decreases while overlooking simultaneous neckline shaping can solve one measurement and disturb another.
Top-down raglans and yoke depth
Imagine a yoke that reaches its required stitch counts before it reaches its intended depth. Repeating additional increase rounds would add stitches as well as height. That can change body and upper-arm width, even though width was already on track.
Some designs allow even rounds after the increases are complete. Elizabeth Smith gives that option in her Ramona armhole-depth guidance. It is a pattern-specific example of adding depth without extra increases, not a universal correction for every yoke.
If the yoke becomes too deep before all its increases are worked, simply stopping early can leave too few stitches. Adding length below the underarm cannot shorten that already-deep yoke. This is a point to consult the designer’s adjustments or reconsider the yarn and gauge.
Sleeve caps, charts and simultaneous shaping
A set-in sleeve cap must work with its armhole. Keeping its final stitch count alone doesn’t establish that the cap’s height and shaping will fit. A changed row count needs a checked shaping plan, not just extra rows at the top.
Likewise, removing rows from a cable or lace chart can interrupt the design. Before adjusting, identify complete repeats and any plain areas the pattern allows you to lengthen. A large mismatch in a fixed chart may make another yarn or pattern a better choice.
For a substantial change, collect the schematic, finished gauges, required stitch totals and all instructions in the affected section. Those details make a question to the designer much easier to answer than “Can I add a few rows?”
5. Try one controlled change if both gauges must match
Changing needle diameter can alter stitch gauge as well as row gauge, so it may undo the width you already achieved. Don’t assume that moving up or down one size selectively corrects stitch height.
One experiment is to keep the same millimeter diameter and try a different needle material. Brooklyn Tweed’s Swatching 101 suggests this when stitches match but rows don’t. It may affect your handling and tension; there is no guaranteed direction or size of change for everyone.
Keep the yarn and stitch pattern consistent, finish the new sample in the same way, and measure both directions again. Compare fabric feel too. If the new result is worse, you have useful information rather than a reason to force the numbers.
If suitable needles and finishing still don’t give the fabric the design needs, review the yarn’s properties or choose a pattern that works with your fabric. Matching the required stitch count doesn’t make every yarn substitution suitable.
Before casting on, write a short plan:
Pattern stitches and rows per reference distance:
My finished stitches and rows over that same distance:
Section and intended finished dimension:
Expected dimension if I keep the original rows:
Plain-length adjustment, or shaping advice needed:
Required stitch totals, repeats and finishing side:
Frequently asked questions
How far off can row gauge be before it matters?
There is no useful universal allowance of one row, two rows or a fixed percentage. Calculate the physical difference over the relevant section, then consider its construction and fit. A small swatch discrepancy can accumulate across a deep yoke or long fixed repeat.
Does more rows per 10 cm mean my knitting will be taller?
No. More rows fitting into 10 cm means shorter individual rows. The same fixed row count produces less height; reaching a fixed length requires more rows. The direction reverses when fewer rows fit into that distance.
Can I choose a different pattern size to fix only row gauge?
A different size also changes stitch counts, widths and other construction details. It is not an automatic vertical correction when stitch gauge already matches. Compare the full schematic and sizing instructions before making that choice, or ask the designer about the particular mismatch.
Can I stretch the swatch until both gauges match?
Use the treatment intended for the actual project. A pattern may require particular blocking, but forcing the sample to a desired height can also change its width and doesn’t establish that it will keep those dimensions. Recheck the relaxed, dry fabric as the pattern directs.
Should I count rows or ridges in garter stitch?
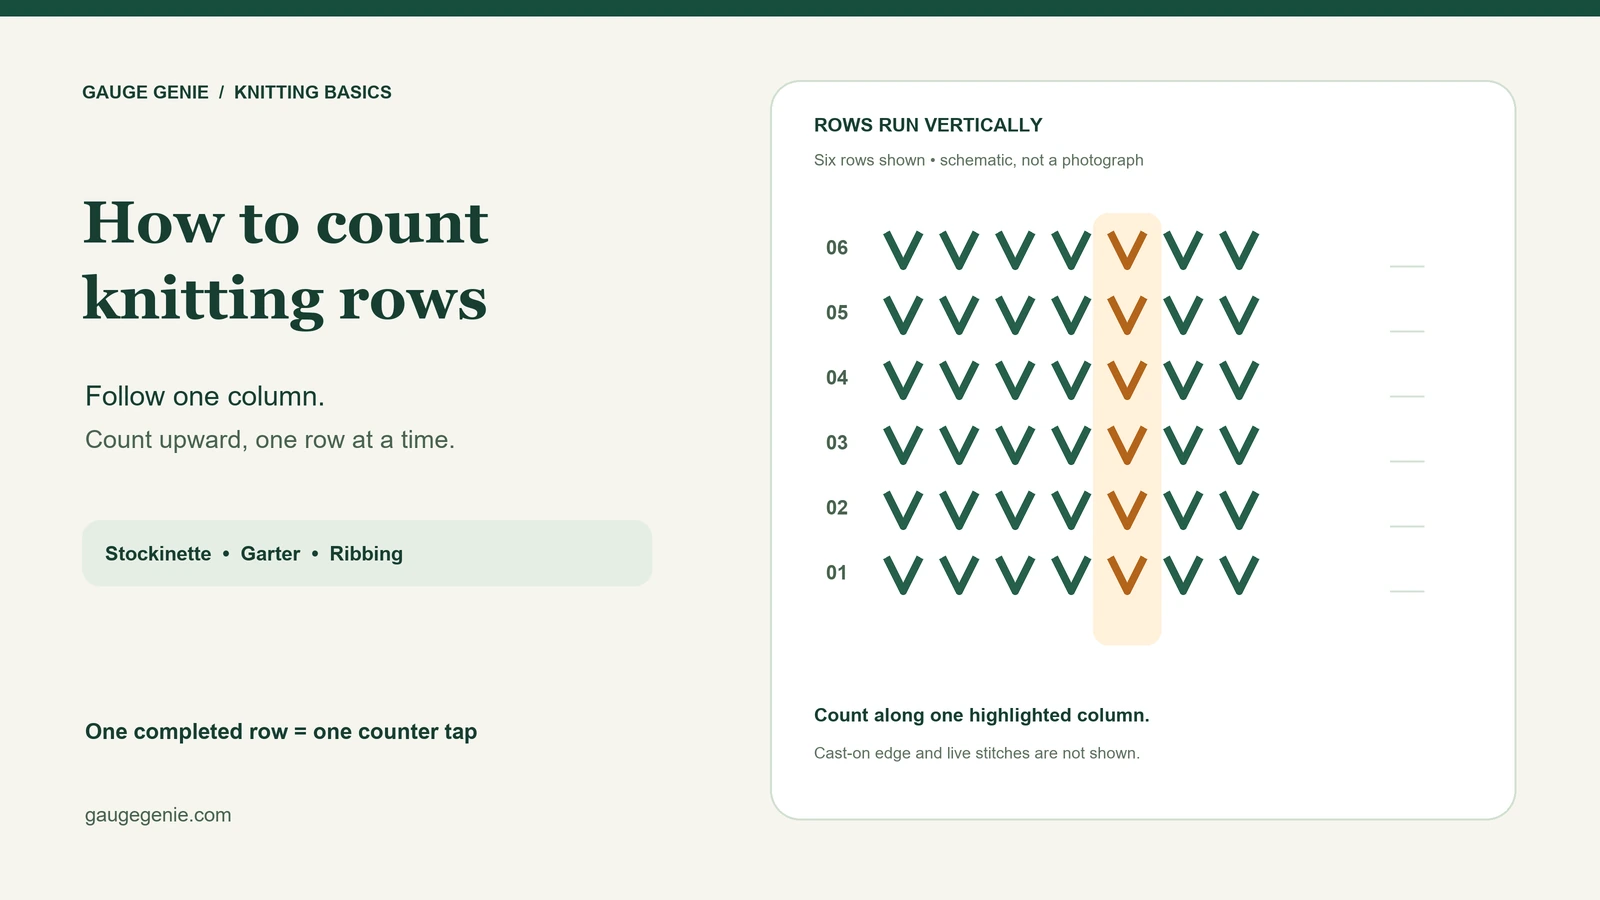
Check which unit the pattern specifies. One garter ridge normally represents two rows, so comparing a ridge count with a row count creates a false mismatch. The row-counting guide explains how to identify the fabric’s rows.
Will the extra rows mean I need more yarn?
They may change yarn use, but the row-count ratio alone doesn’t give a reliable extra-yardage percentage. Stitch size, yarn, stitch pattern and the complete adjustment also matter. Check the pattern’s allowance and keep enough yarn for swatching and any planned changes.
What if different stitch patterns have different row gauges?
Measure each stitch pattern the design requires. Equal row counts in stockinette and lace, for example, need not make equal finished lengths. Where panels must align or be joined, use their actual dimensions and the pattern’s joining instructions rather than assuming one-to-one row matching.
What information should I send the designer?
Include the pattern and size, yarn, needle size and material, finished stitch and row gauges with units, and the section causing concern. Add the relevant schematic measurement and explain whether the original rows would make it too short or too long. Include any simultaneous shaping instructions.
The aim is a fabric and construction that work together. Keep the gauge you have measured, identify what the affected rows do, and make the smallest checked adjustment that the design permits.