
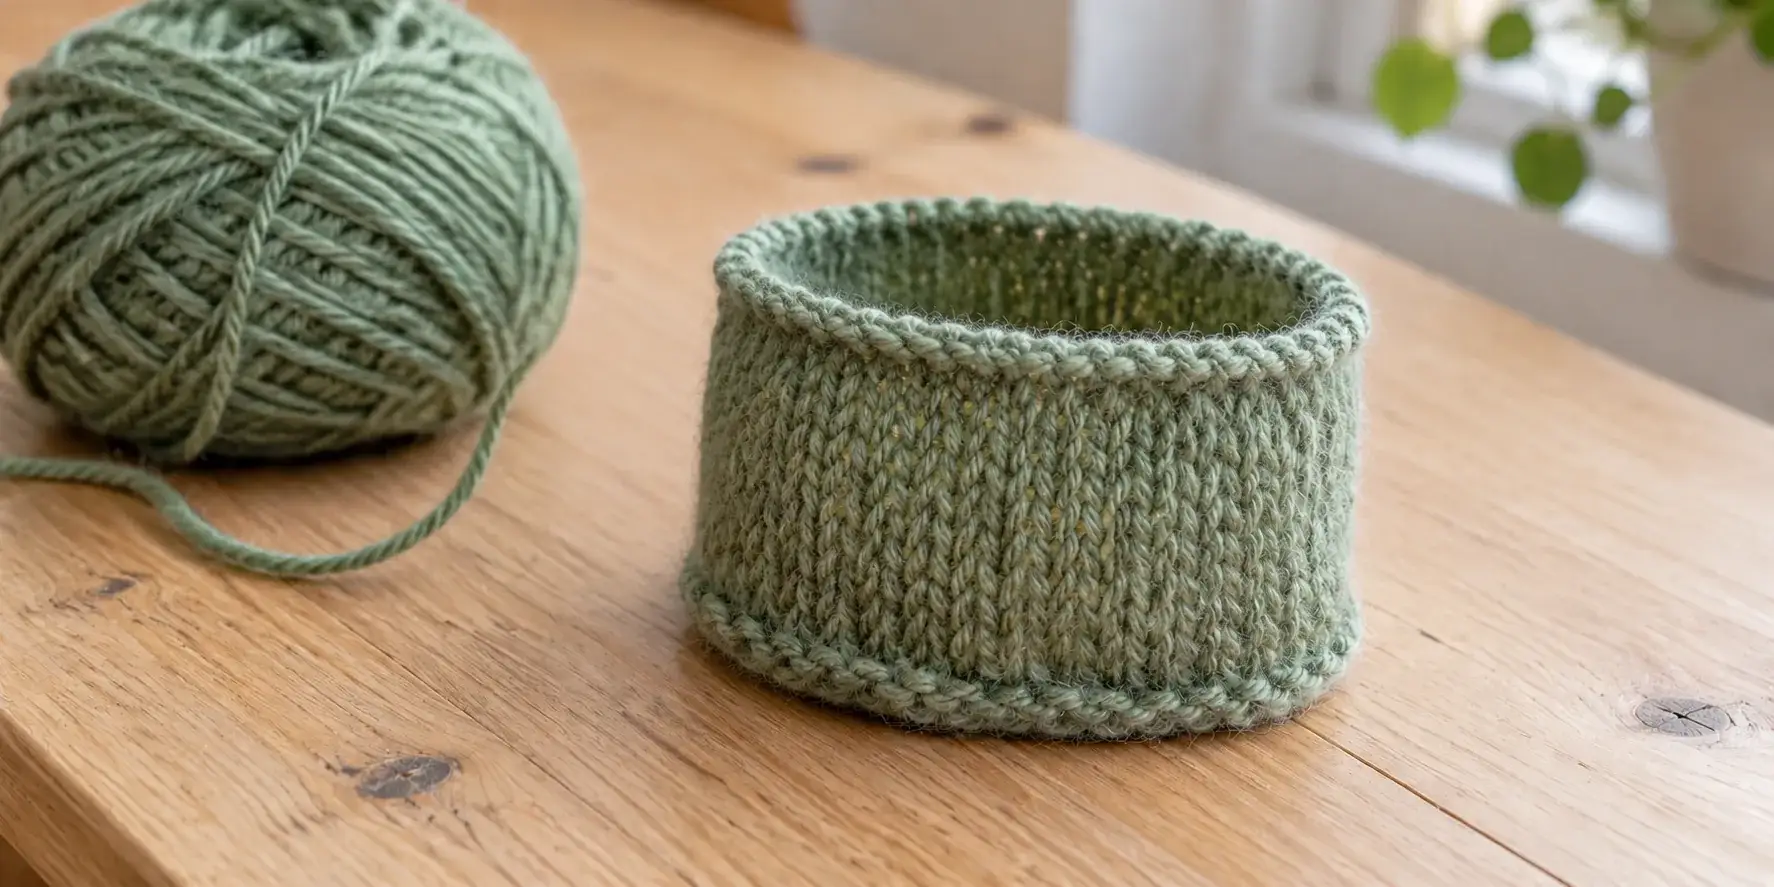
To swatch in the round, either knit a small joined tube or make a flat-looking speed swatch by sliding the stitches back to the starting end of a circular needle after each row. For stockinette, both approaches let you work knit stitches on every round or pass. Wash and dry the sample as you will the project, then measure a relaxed area away from its edges.
The choice matters when you’re planning a sweater, hat or pair of socks. An ordinary back-and-forth stockinette swatch includes purl rows, and your purling tension may differ from your knitting tension. A swatch that matches how you will work gives you a better starting point.
This guide covers plain stockinette, also called stocking stitch. If your pattern specifies ribbing, lace or colourwork for its gauge measurement, use those actual instructions instead. Gauge is often called tension in UK and Australian patterns.
Swatch in the round: tube or speed swatch?
| Method | What you make | Main advantage | Main check |
|---|---|---|---|
| Joined tube | A small cylinder knitted in complete rounds | Lets you practise circular knitting and the intended needle setup | Make it wide enough to measure one face away from folds and needle transitions |
| Speed swatch | An open-backed sample with loose yarn carries | Avoids working purl rows for a plain stockinette sample | Keep the back strands slack enough that the fabric can lie flat |
A speed swatch is not ordinary flat stockinette. You keep the right side facing you and return the yarn across the back instead of turning the work.
Andrea Rangel’s comparison of circular swatching methods explains a useful tradeoff: a small tube can change how you hold the needles. Match your project setup where practical, and check the developing project’s gauge early rather than assuming any sample predicts it perfectly.
Plan a sample larger than your measurement window
The stitch count printed beside “10 cm” or “4 inches” is a gauge target, not automatically a suitable cast-on count. You need extra fabric around the area you will measure.
For example, suppose a pattern calls for 20 stitches over 10 cm. That is an expected two stitches per centimeter. A 32-stitch speed swatch would be about 16 cm wide at that tension, leaving some room beside a central 10 cm measurement. Adjust the count for your stitch repeat and the amount of distorted fabric near the edges.
A tube needs different planning because its laid-flat width is approximately half its circumference:
| Hypothetical sample at 20 stitches per 10 cm | Expected size before allowing for variation |
|---|---|
| 32-stitch speed swatch | About 16 cm across |
| 60-stitch tube | About 30 cm around, or 15 cm wide laid flat |
| 20-stitch tube | Only about 10 cm around, or 5 cm wide laid flat |
These are planning calculations, not measurements of a tested swatch. Cast on more if you need wider margins. Knit enough height that your measuring window also stays clear of the cast-on and cast-off edges.
For general swatch preparation, see the guide to measuring knitting gauge. The knitting gauge calculator can help with stitches-to-length proportions; it cannot decide whether your sample represents the project accurately.
Method 1: knit a joined tube
Choose a needle arrangement that can comfortably handle the planned circumference. A circular needle that is too long for ordinary circular knitting will need a suitable small-circumference technique, such as magic loop, or a different setup such as DPNs.
- Cast on the planned stitch count with the project yarn and intended needle size. Check any required stitch multiple.
- Arrange the stitches without twisting the cast-on edge, join in the round and place a beginning-of-round marker.
- For a plain stockinette sample, knit every round. For another pattern, work its circular instructions.
- Continue until there is enough fabric to measure away from the upper and lower edges.
- Cast off without pulling the edge tight, then finish and measure the sample as described below.
You can leave the tube intact. Lay it flat and count the stitches visible across one face; do not double that local count or add the hidden back layer. Keep the ruler away from side folds and obvious ladders, and rotate the tube to check another area.
If you need a refresher on handling multiple needles, the double-pointed needle guide explains the basic arrangement. Keep your needle transitions consistent with the project.
Method 2: make a loose-float speed swatch
Use a circular needle so that you can move the stitches back to the other tip without turning the work. A suitable double-pointed needle can also let you slide the stitches, provided it holds them comfortably.
For plain stockinette:
- Cast on enough stitches for a central measuring area and generous edge margins.
- Knit across the first row.
- Do not turn. Slide the stitches back to the starting end, keeping the knit side facing you.
- Bring the working yarn loosely across the back to the starting side. Leave enough slack that the full fabric width can spread naturally.
- Knit the next row with that strand. Repeat the slide-and-carry sequence until the sample is tall enough.
- Cast off and check that the back strands still allow the fabric to lie relaxed and flat.
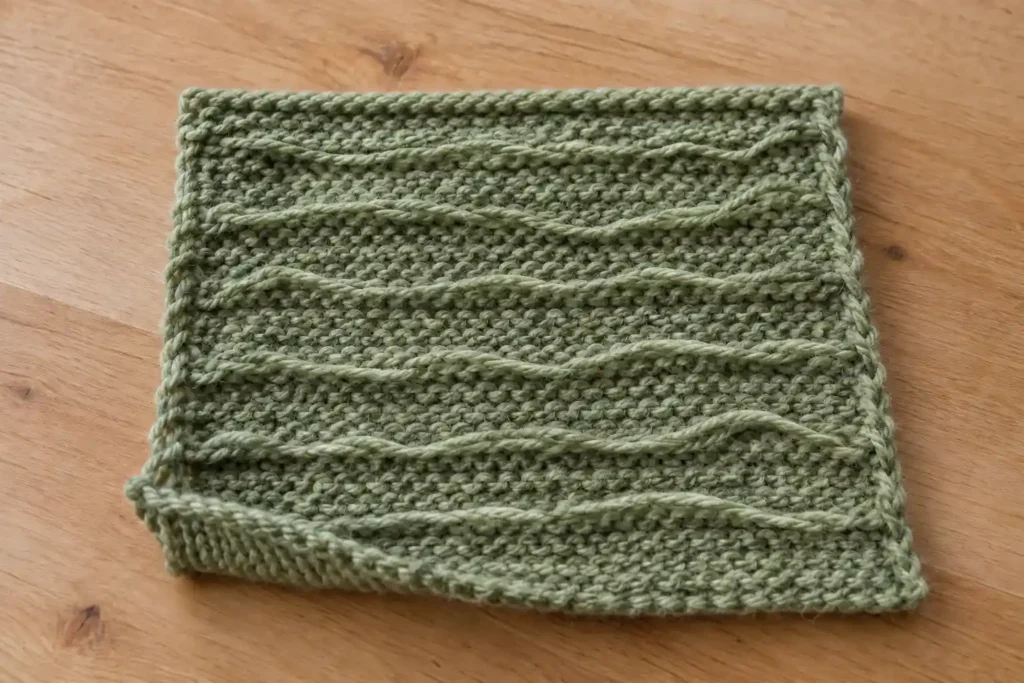
Patty Lyons demonstrates a speed swatch, including an edge treatment. Her demonstration is useful for seeing the slide and carry. Edge treatments vary; you will still measure the central fabric rather than the loose outer columns.
Should you cut the strands across the back?
Not automatically. If the strands remain generously slack through washing and drying, they can stay uncut, preserving a continuous length of yarn for possible reuse. Purl Soho’s circular-gauge tutorial and replies discuss this option.
If the carries pull the sides inward, don’t stretch the sample until the ruler gives the number you want. Rework it with longer carries, or deliberately choose a method that cuts the strands and accept that you will have many short ends. Keep scissors away if your plan depends on unravelling the sample into usable continuous yarn.
Wash, dry and measure the finished fabric
Use the care and blocking treatment intended for the project, following the pattern and yarn’s care instructions. A quick count straight off the needles can show an early direction, but it does not replace the finished measurement.
- Wash or finish the swatch as directed for the project.
- Lay it out appropriately and let it dry completely. Do not pull it to a target size unless that stretch-blocking treatment is specifically required.
- Place a ruler across a clear central area without stretching the fabric. Count stitch Vs horizontally across the stated distance.
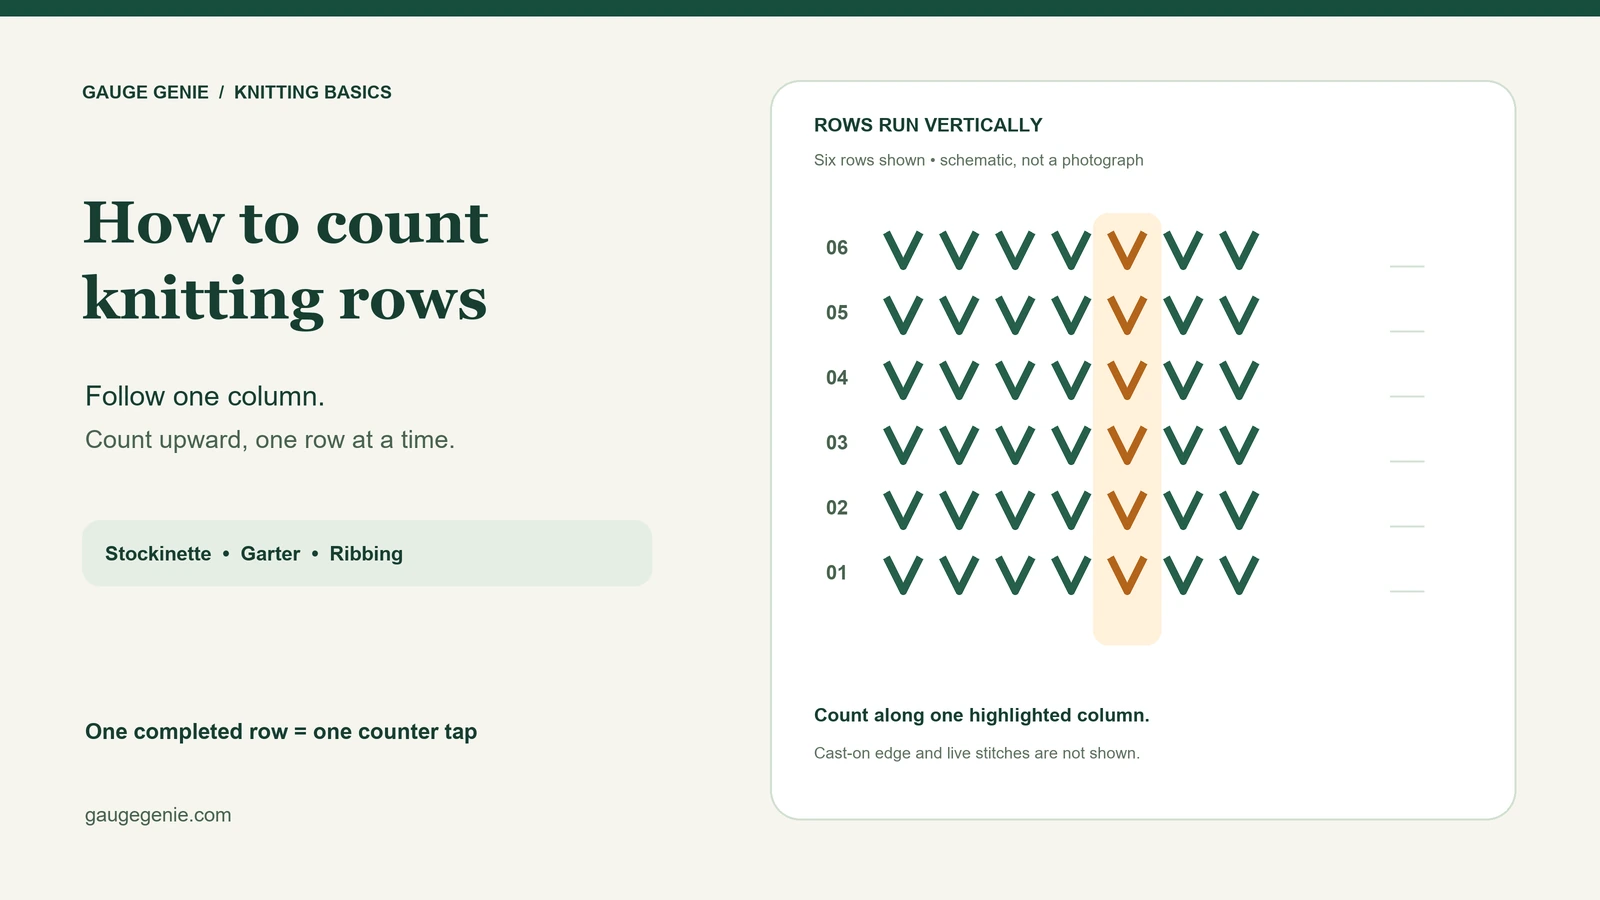
- Count rows vertically over the same reference distance. Include fractional stitches or rows when an endpoint falls within one, rather than rounding them away.
- Check another central area. If the readings differ noticeably, examine the sample for tension changes or distortion before choosing a result.
Purl Soho’s guide to gauge explains reading the fabric and comparing the finished sample. For help identifying individual rows, use the row-counting guide.
Keep the units consistent. Four inches is 10.16 cm, so it is close to—but not exactly—10 cm. If your pattern gives a 10 cm reference, use that reference throughout your comparison. If it uses 4 inches, measure 4 inches.
Read the result before changing needles
Compare the number of stitches across the same stated distance:
| Your finished stitch count | What it means | Next experiment |
|---|---|---|
| More stitches than the target | Your stitches are smaller | Try a larger needle and swatch again |
| Fewer stitches than the target | Your stitches are larger | Try a smaller needle and swatch again |
| Target stitch count reached | The width calculation is on track | Check row gauge, fabric feel and pattern requirements too |
Brooklyn Tweed’s swatching guide covers needle adjustment and judging the finished fabric. A change of one needle size does not produce a guaranteed change in gauge. Check the actual millimeter size if you are moving between numbering systems; the needle size chart can help.
Here is why the difference matters. At the earlier target of 20 stitches per 10 cm, 200 stitches would make a simple 100 cm circumference. At 22 stitches per 10 cm, those same 200 stitches would make about 90.9 cm. That is a hypothetical proportion calculation, not a replacement for the pattern’s shaping or sizing instructions.
If stitch gauge matches but row gauge does not, look at the construction before changing row counts. Instructions based on length and shaping spread over fixed rounds need different treatment. Follow the designer’s guidance where a change would affect fit.
If the stitch count is right but the row count is off, use this row gauge mismatch guide to check plain lengths, shaping and charts before making changes.
Keep a swatch record you can use later
Write down the yarn, needle size in millimeters, needle type, method, finishing treatment and both gauge measurements. If you keep the swatch, label it so that you can identify it after trying another needle.
An example record can stay simple:
Yarn and colour:
Needle size and type:
Method: tube / loose-float speed swatch
Stitch pattern:
Washing and drying treatment:
Stitches per measured distance:
Rows per measured distance:
Next needle or pattern decision:
Frequently asked questions
Can I swatch flat for a project knitted in the round?
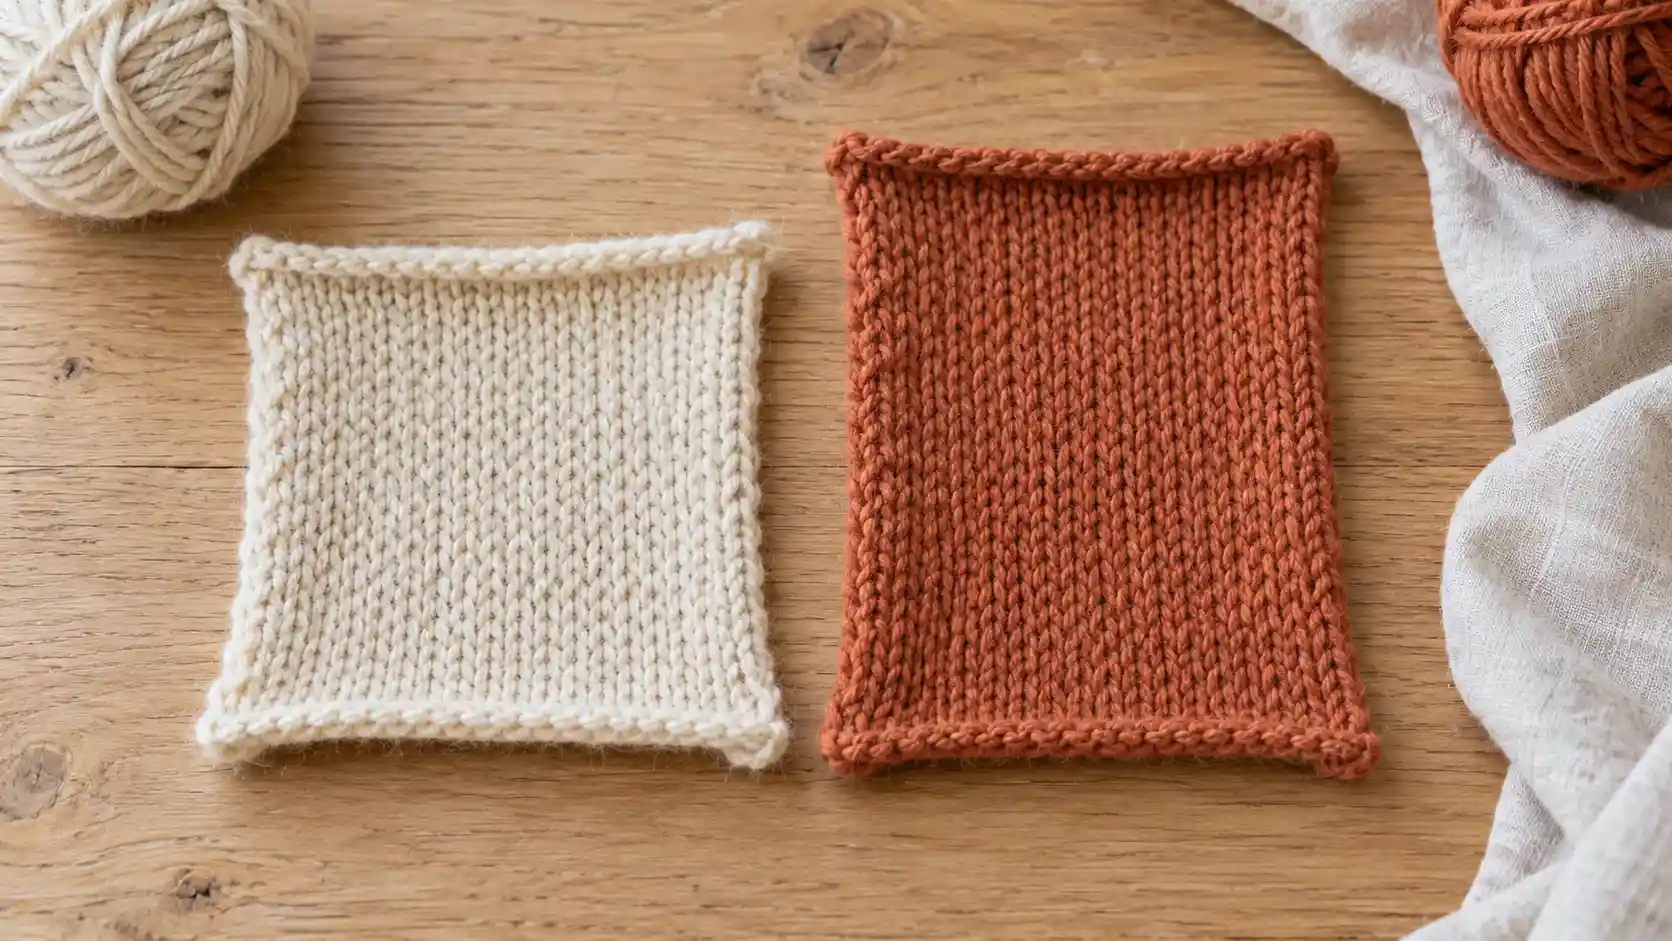
Ordinary flat stockinette can give a different result because it includes purl rows. A speed swatch is a useful alternative: it looks flat but keeps the right side facing you, so you work knit rows with loose carries behind. Compare like with like.
Is gauge always tighter in the round?
No. Your knit and purl tension, needle arrangement and handling can change the result in either direction. There is no universal conversion from flat gauge to circular gauge. Measure a suitable finished sample for your own project.
Do I have to cut a circular swatch open?
No. An intact tube can be measured across one visible face, away from folds and needle-transition gaps. A speed swatch can keep its back strands intact if they remain slack enough for the fabric to lie flat. Cutting is a choice with consequences for yarn reuse.
How many stitches should I cast on?
Start from the pattern’s gauge, estimate enough width for your measuring window plus margins, and respect its stitch repeat. For a tube, remember that the laid-flat face is about half the circumference. The same cast-on count will not suit every yarn or method.
Can I make the sample smaller to save yarn?
A tiny sample may show colour or stitch appearance, but leaves little relaxed fabric for a reliable gauge reading. Check whether the pattern includes yarn for swatching rather than assuming it does. Keeping the yarn intact can help if you need to reclaim it later.
Should a ribbing or colourwork swatch be plain stockinette?
Use the stitch pattern specified for the pattern’s gauge. Ribbing and stranded colourwork can behave differently from plain stockinette. Also follow their circular instructions: knitting every round produces stockinette, not garter stitch. Garter in the round normally alternates knit and purl rounds.
Can I reuse the yarn after measuring?
Usually you can unravel intact yarn and reuse it, allowing for its condition and the project’s needs. A speed swatch with cut carries will not return one uninterrupted strand. Keeping a labelled sample is useful when you have enough yarn to spare.
What if I reach the gauge number but dislike the fabric?
Consider the fabric’s drape, density and suitability for the project as well as the count. The right number does not make an unsuitable yarn behave like the designer’s sample. Review the yarn choice and pattern requirements before committing to a full garment.
Once the finished swatch gives you useful measurements and a fabric you like, keep its notes beside the pattern. Check the project again after you have enough actual fabric to measure, especially if your needle setup or knitting habits change.
[…] general knitting gauge guide covers preparation and measurement. For a circular project, use the swatching-in-the-round methods rather than assuming your flat result will […]