
You put a sleeve down, come back later and can’t remember whether the next row is 23 or 24. The counter says one thing. The fabric seems to say another.
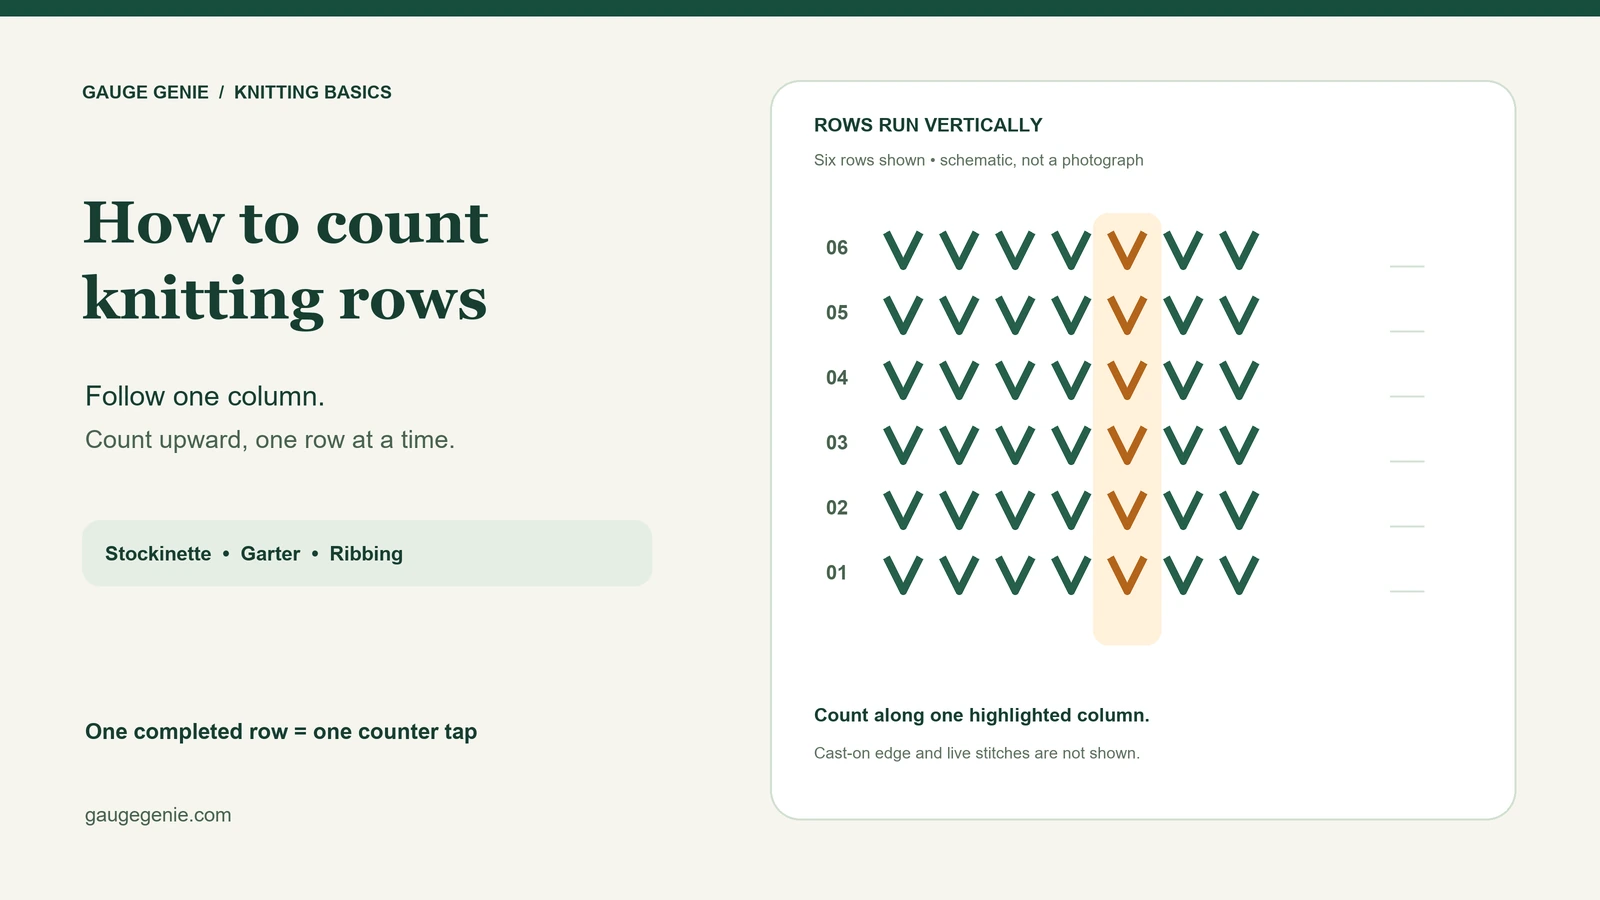
To count rows in knitting, follow one stitch column vertically. In stockinette, each knit V belongs to one row. In ribbing, choose a knit column and do the same. In garter stitch, count complete ridges, allowing two rows per ridge, then check whether you’ve worked one extra row. The cast-on edge and the live stitches on your needle need a little care, which we’ll cover below.
This guide uses completed rows: after you finish Row 12, your count is 12 and the next instruction is Row 13. If you want to track your progress as you work, open the free knitting stitch and row counter.
Rows, stitches and rounds: what are you counting?
A stitch is one loop across the width of the work. A row is a pass along the stitches you are working. On an ordinary flat piece, working across and then back again makes two rows. Short rows are a special case: a turn can happen before you reach the edge, so follow the pattern’s instructions rather than treating every pass as a full-width row.
A round takes you once around a piece knitted in the round. Moving from one double-pointed needle to the next does not complete a round; returning to your beginning-of-round marker does.
Stockinette is also called stocking stitch, particularly in UK and Australian patterns. For row counting, they mean the same fabric.
| Fabric | What to follow | Main counting check |
|---|---|---|
| Stockinette / stocking stitch | One vertical column of knit Vs | One stitch vertically represents one row; establish your starting boundary |
| Garter stitch | Complete ridges on one chosen face | Two rows per complete ridge, with a possible extra worked row |
| Ribbing | A single knit column | Count upward, not across the ribs |
| Knitting in the round | One stitch column, with a round marker as the checkpoint | Add one after a complete circuit |
How to count rows in stockinette stitch
Spread the fabric gently on a table with the smooth knit side facing you. Don’t pull it hard enough to distort the stitches. Choose a clear column away from the curling edge, an increase or a decrease.
- Find a row you can identify with confidence: the first worked row, a clearly recorded colour change, or a row you’ve marked.
- Follow one column upward. Each V is a stitch in that column, and successive stitches belong to successive rows.
- Use a blunt needle tip to point at each stitch as you count. Count the whole V once, rather than counting its two legs separately.
- Check the top boundary. If you’re counting completed rows above a known row, the new live loop on the needle belongs to the latest row once that whole row has been finished.
The Knitting Circle’s stockinette demonstration shows the method from both faces of the fabric. For a beginner, turning reverse stockinette over and counting the knit side is usually easier than separating all the purl bumps.
Does the cast-on count as a row?
When a pattern says to cast on and then work Row 1, start the instruction count with that first worked row. Follow any explicit setup-row directions in the pattern.
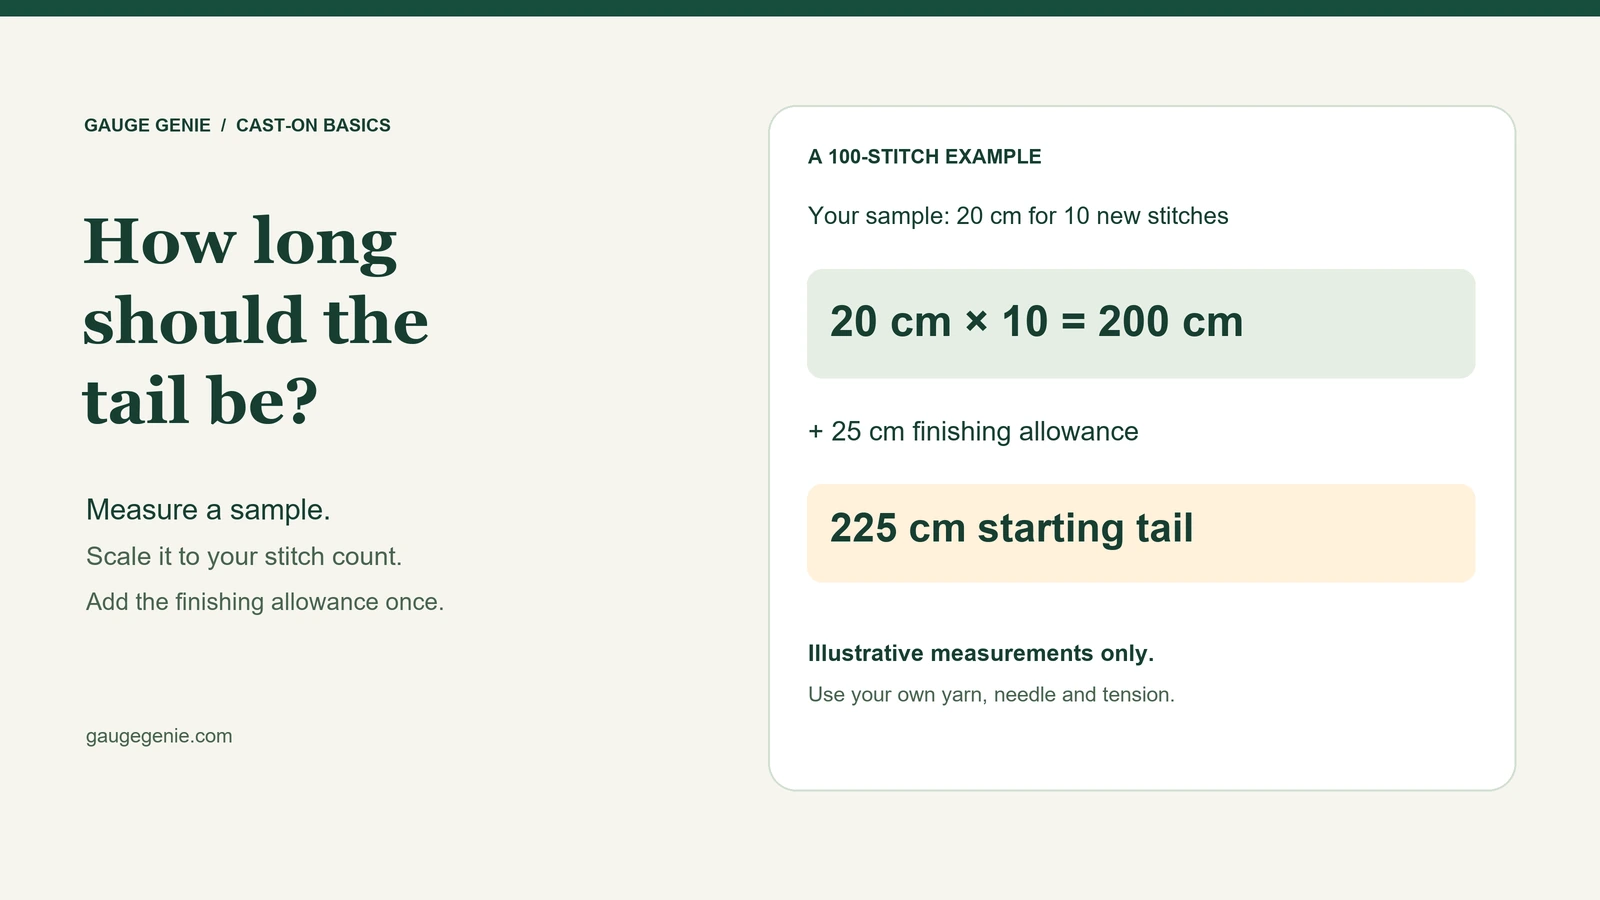
Before starting a new piece, estimate your long-tail cast-on tail length from a small sample.
The difficulty is that some cast-ons already create stitch structure that looks like another row. Long-tail cast-on is a common example. That visible structure does not give you permission to skip the pattern’s Row 1.
Do the stitches on the needle count?
After you’ve worked all the way across, those live loops were made during the row you just finished. They are not an extra row to add on top of a count you’ve already recorded.
This is where counting tutorials can seem to disagree. Counting the fabric below the needle can include structure created by the cast-on. Another method excludes that bottom structure and includes the latest live loops. Mixing their starting and ending points can put you one row out. Patty Lyons explains this cast-on and live-loop distinction with different cast-ons.
If you’re unsure where the bottom boundary begins, use a small practice swatch: cast on, record four complete rows as you knit them, then compare the fabric with your notes. A known row is a better starting point than an unfamiliar edge.
How to count garter stitch rows
Garter stitch compresses into ridges, so individual rows are less obvious. In the regular fabric, each complete ridge represents a two-row repeat. Count those complete ridges on one face and multiply by two, then check for an extra worked row near the needle and check the cast-on boundary.
For example, six complete two-row repeats above a known starting point represent 12 worked rows. If you’ve finished one further row, the total is 13. Don’t decide it must be 12 simply because you can see six prominent ridges.
Keep the same face toward you while counting ridges. Don’t count ridges on both faces and then double that combined number. The Nimble Needles garter-row tutorial illustrates complete ridges and an additional row near the needle.
The cast-on can resemble a ridge too. For an exact pattern-row total, identify it separately and follow the designer’s counting convention. When that boundary is hard to read, a recorded marker row avoids counting from the edge at all.
How to count rows in ribbing
Gently open the ribbing until you can see one raised knit column. Follow its Vs vertically, using the same starting and ending boundaries as stockinette. In 2-by-2 ribbing, choose either of the two neighbouring knit columns and stay with it.
The knit and purl ribs run beside each other. They do not represent alternating rows. Counting four ribs across the fabric tells you nothing about how many rows you’ve worked.
Kate Atherley’s counting guide at Modern Daily Knitting explains why a knit column is useful even when the surrounding fabric is textured.
Recover your place from a marked row
A removable marker clipped into a known completed stitch gives you a checkpoint you can return to. This is different from a ring marker sitting on the needle between stitches.
- Finish a row and write down its number, for example, “Row 20 completed.”
- Clip a locking marker gently into a clearly identifiable stitch from that row. Don’t split the yarn.
- When you recount later, exclude the marked stitch itself. Count the new stitches vertically above it, through the latest live loop if the current row is fully complete.
- Add that number to your recorded baseline.
Example: the marker identifies Row 20. You have completed seven rows above it. Your total is 27 completed rows, and your next instruction is Row 28.
If you stopped halfway across a row, keep the completed-row total unchanged. Note which row is in progress and where you stopped. Some stitches on one needle will be a row ahead of those on the other. A single column cannot describe the whole piece until you account for where you stopped.
For ordinary rows, a short note can be enough:
Sleeve — flat knitting
Marker: Row 20 completed
Rows completed since marker: 7
Total completed: 27
Next: Row 28
Keep the total separate from the pattern repeat
“Twenty-seven rows completed” and “next: Row 4 of the repeat” can both be correct. One number tracks the section; the other tracks your position in a repeated instruction.
Suppose a section has a four-row repeat and no separate setup rows. Three whole repeats make 12 rows. After working the first two rows of the next repeat, you have 14 rows completed and should work repeat Row 3 next.
On Gauge Genie’s counter, the row and pattern-repeat counters work independently. Add one repeat only after completing the entire repeat; the tool does not advance it automatically. If you’ve restarted the row counter at a marker, keep the earlier baseline in your own notes.
The counter does not save counts or notes. Copy your totals and next instruction before refreshing, closing the page or switching devices. It also cannot read your knitting, so check any uncertain count against the fabric.
Counting rounds on circular needles or DPNs
Use a beginning-of-round marker and add one only when you return to it after a complete round. Splitting a round across three or four holding needles does not change the round count.
Keep a separate note when the pattern moves the beginning of the round, introduces short rows, or gives instructions for only part of a round. Those cases need the designer’s directions, not a simple “one needle equals one row” rule. The double-pointed knitting needle guide explains the basic needle arrangement if you’re new to it.
Counting rows for gauge is a separate measurement
For row gauge, count a central span of the swatch rather than the entire piece from cast-on to needle. Lay the washed and dried swatch as the pattern directs, without stretching it, and avoid distorted edges. Include any fraction of a row that falls within the measured height.
Then divide the number of rows by the length measured. If you count 24 rows over 4 inches, that is 6 rows per inch. A plain 12-inch section would therefore be about 72 rows at that gauge. Separately, a swatch with 24 rows over 10 cm gives about 36 rows over 15 cm. Use the actual reference length you measured; 4 inches and 10 cm are close, but not identical.
The knitting gauge calculator can help with those proportions. For swatch preparation, read the guide to measuring knitting gauge. A calculated row total doesn’t replace pattern-specific shaping or an instruction to finish on a particular side.
Quick answers to common row-counting questions
Is knitting there and back one row or two?
In ordinary flat knitting, it is two rows: one pass out and another pass back. If the pattern uses short rows, follow its turns and numbering.
Does one garter ridge always mean two completed rows?
A complete ridge in the regular fabric represents two rows. A visible ridge at the cast-on or an additional row near the needle can make the total misleading. Check both boundaries before multiplying the visible count.
Can I tell the row number from which side the yarn is on?
Use that only as a cross-check when you know how the section started and whether you finished the last row. Turning the fabric, changing sections or stopping mid-row can make a left-or-right rule unreliable.
What should I do when the counter and fabric disagree?
Pause before shaping or changing colours. Return to the most recent recorded marker, recount from there, and write down both the completed total and the next instruction. Correct the counter only after you’ve checked the knitting.
Keep that checkpoint habit even when the counting feels easy. The next time you put a project down for a week, you’ll have a place to restart without guessing.
[…] the rows are difficult to read, use this guide to counting rows in stockinette, garter stitch and ribbing before calculating your […]
[…] cast-on stitch count is separate from the number of rows worked. Our guide to counting rows in knitting explains the cast-on boundary and when to record the first completed […]
[…] Purl Soho’s guide to gauge explains reading the fabric and comparing the finished sample. For help identifying individual rows, use the row-counting guide. […]